Many people choose to buy bitcoin through an exchange like Robinhood or Coinbase, then leave the asset on that crypto exchange platform. Please don’t make this rookie mistake!
The best way to hold your bitcoin is in your own wallet. This way you’ll never have to worry that you actually have less than you’re being told by a bank, exchange or other service provider. Don’t ask for permission to spend your own money. Hold your own bitcoin.
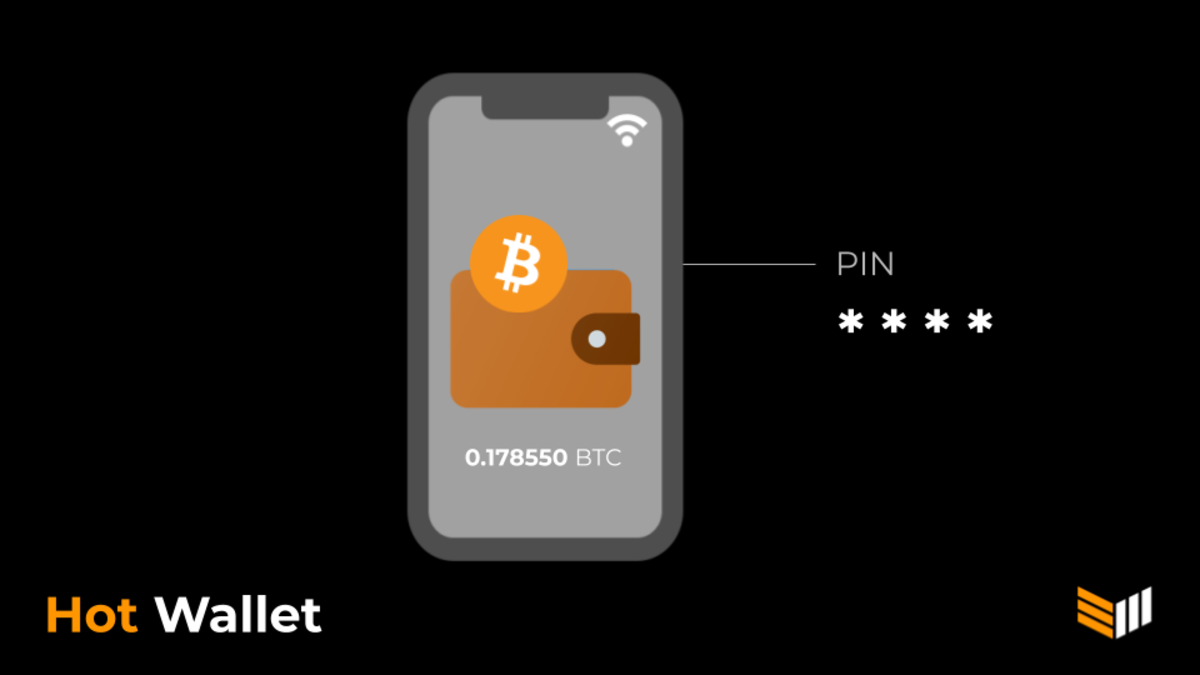
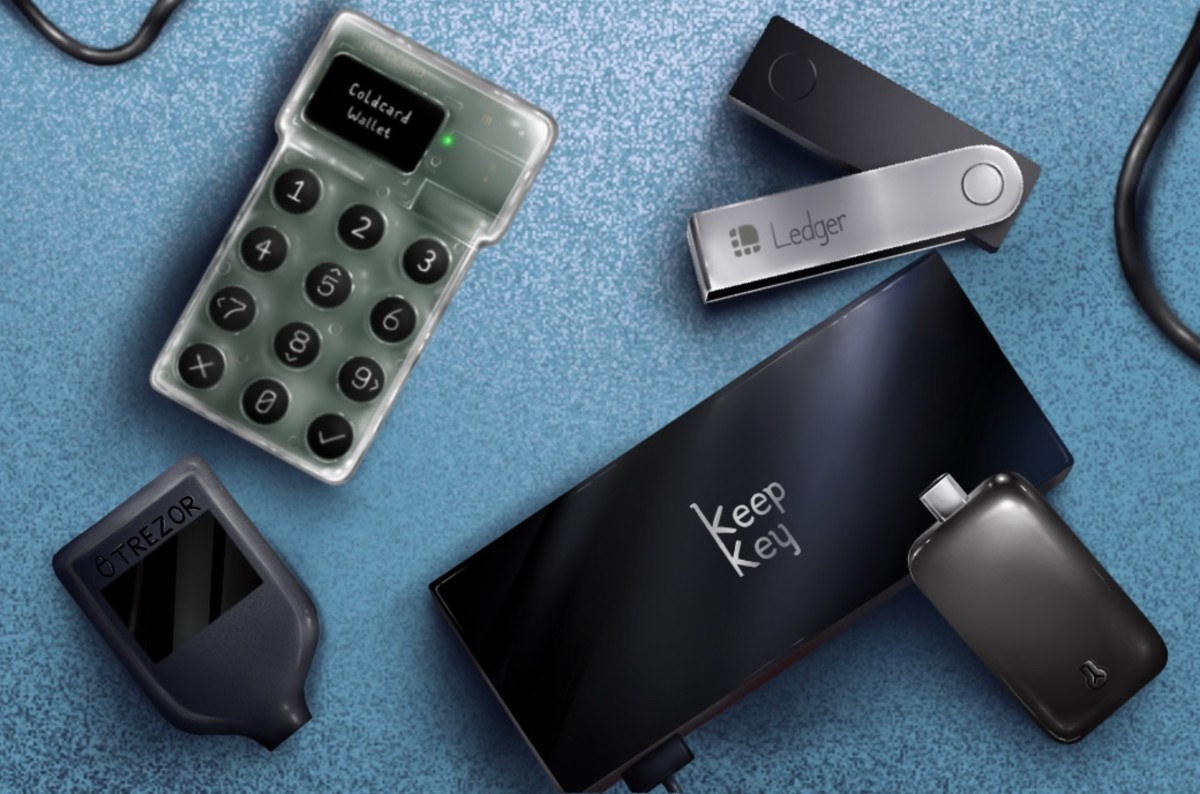
A software app for storing bitcoin is called a "hot wallet," while a hardware device is called a "cold wallet."
There are many mobile wallets to choose from, including Samourai Wallet and Sparrow Wallet. In this tutorial, we’ll show you how to purchase Bitcoin using Cash App, an exchange, then transfer your digital currency to a mobile wallet. To complete this same process without entering know-your-customer information, use a service like CardCoins instead, to buy bitcoin with a prepaid gift card. If you prefer a web app, the Swan Bitcoin exchange offers comparable features to those described below. These options might take a wee bit longer. Otherwise, this beginner tutorial will be tailored to iPhone users starting from scratch. Here’s what you’ll need:
- iPhone
- Internet connection
- Driver’s license or passport
- 30 minutes
HOW TO USE AN IPHONE AS A BITCOIN WALLET
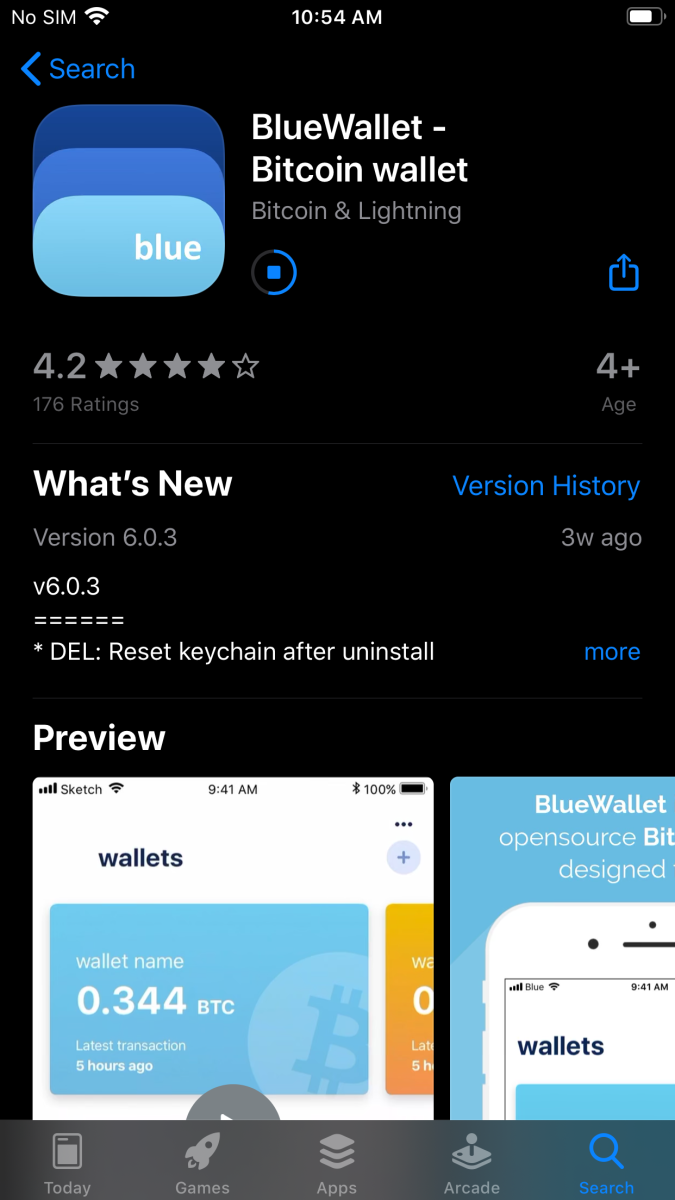
1. Install both Cash App and Blue Wallet. Get both Cash App and Blue Wallet through the iPhone app store, just like any other mobile app. You can also watch this video for more on installing and setting up Blue Wallet on iPhone. (For a more detailed Blue Wallet tutorial, check out the third part of this beginner series.)
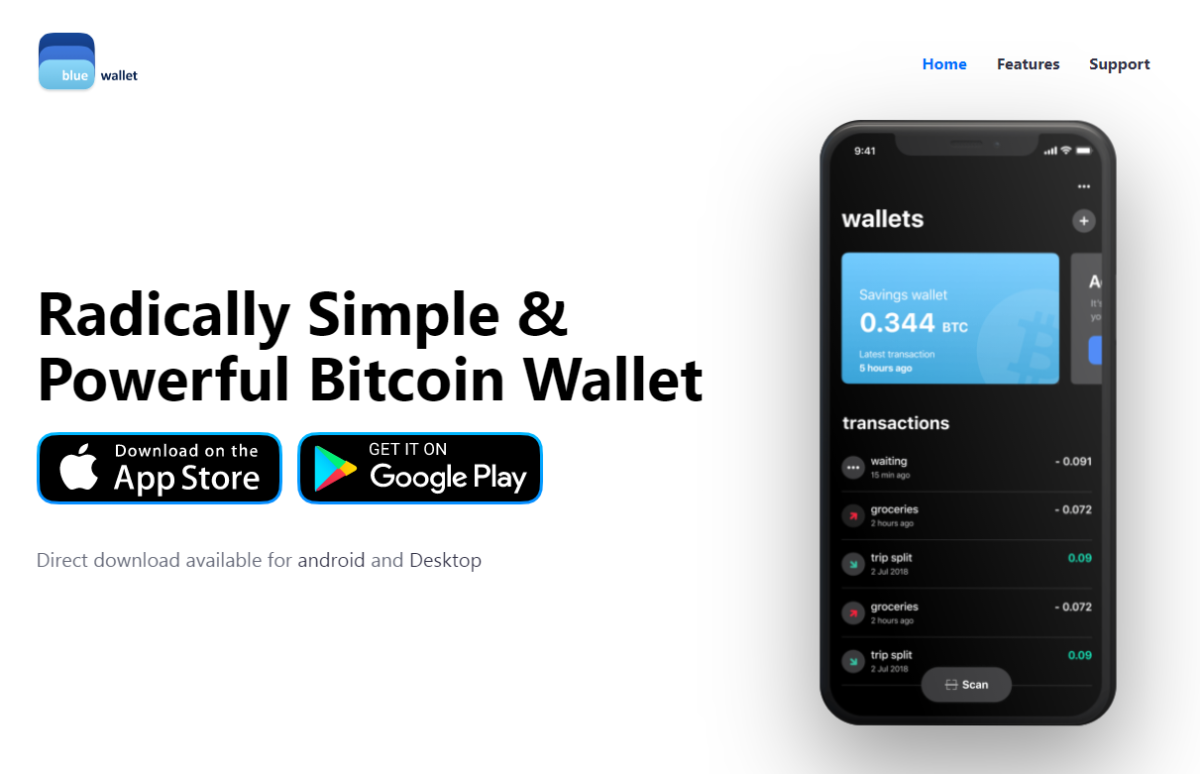
Blue Wallet has advanced features, like Lightning Network options, so it's a great tool for learning.
Input your email address or phone number to be sent a sign-up link. You can choose to link your bank account at this point by adding your debit card number (though it’s perfectly fine to skip this step). Then, input your name and choose a $Cashtag. This public user name is how you will receive and send funds. Type in your zip code and you’re good to go.
2. Set up your Cash App account. Input your email address or phone number to be sent a sign-up link. You can choose to link your bank account at this point by adding your debit card number (though it’s perfectly fine to skip this step). Then, input your name and choose a $Cashtag. This public user name is how you will receive and send funds. Type in your zip code and you’re good to go.
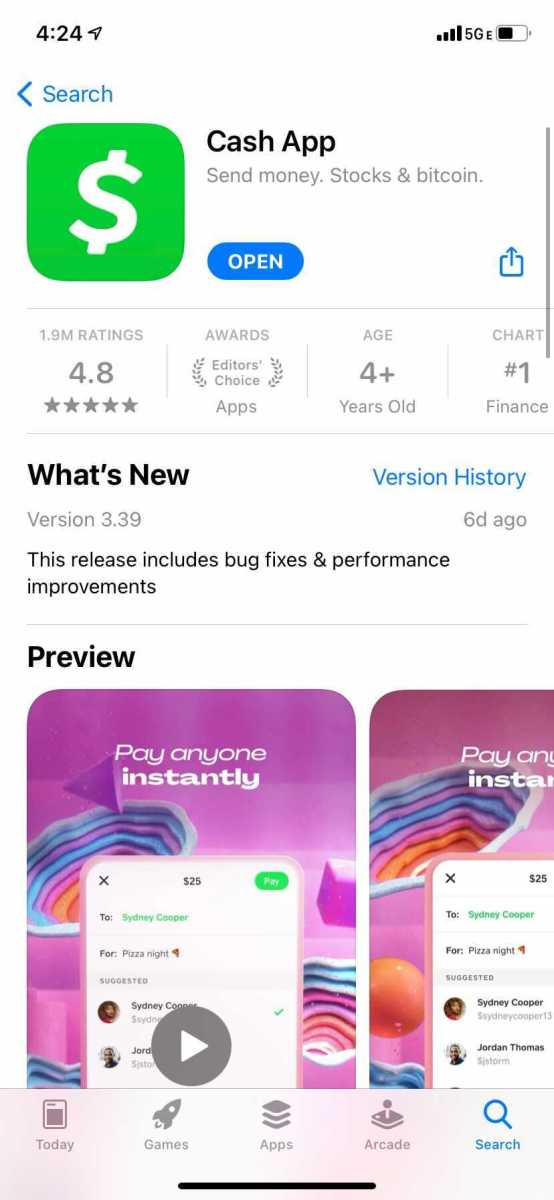
There are many bitcoin exchange apps that allow users to withdraw bitcoin. Find one you feel comfortable using.
3. Buy bitcoin. Now it’s time to buy your first satoshis (the smallest unit of bitcoin) using the Cash App exchange. Click on the second tab from the right (along the bottom of the screen). Then choose “Bitcoin” from the menu at the top. You’ll see a new page that says “Buy Bitcoin Instantly.” Click “Buy” and choose the amount in USD you’d like to purchase. If you connected your bank account, this should go through smoothly. Otherwise, you can ask a friend to send you dollars using your $Cashtag. Confirm your pin number and then your purchase. (It may ask you to confirm a code again, sent to your email). Congratulations, you now own your first satoshis! (Note: you’ll also have the option to set up a recurring bitcoin purchase of small amounts. This is called dollar cost averaging, and many people use this strategy to invest slowly, over time, in order to reduce their risk of volatility. Swan Bitcoin also offers automatic dollar cost averaging options, if you prefer using a laptop.)
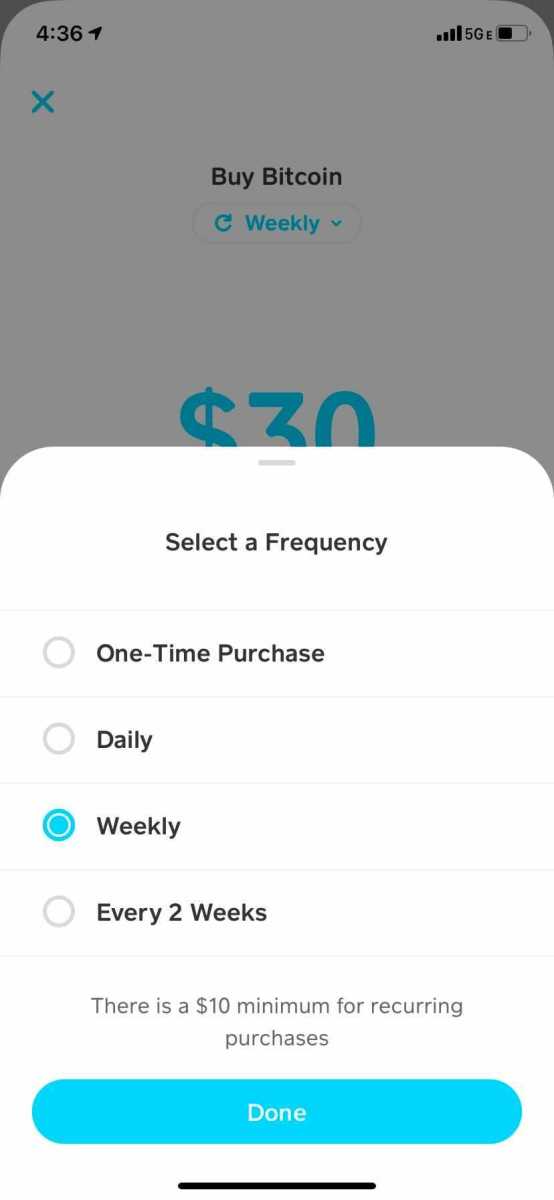
Never buy more bitcoin than you can afford to lose. It's okay to start with small amounts, buying just a fraction of a bitcoin.
4. Set up self-custody. It’s important that you don’t leave your satoshis lying around in your Cash App account. To ensure that you truly own your bitcoin, you should send them to a wallet that only you can access. To do this, switch over to the Blue Wallet app. The small plus sign in the center will prompt you to create a wallet, like a subfolder. Choose the bitcoin option.
5. Secure your seed phrase. This is the most important step. Write down your seed phrase in the correct order on a piece of paper. Secure this piece of paper as if it were gold or jewelry. Do not screenshot these words. Do not save these words on a computer or on your phone. Your bitcoin is only as secure as your 12-words and passphrase. Double check your work, then confirm acknowledgement that you have secured your 12 words. Select “RETURN TO WALLET.” (Note: Once you get more serious about Bitcoin, consider securing your seed phrases on metal instead of on paper.) Now you're ready to transact!
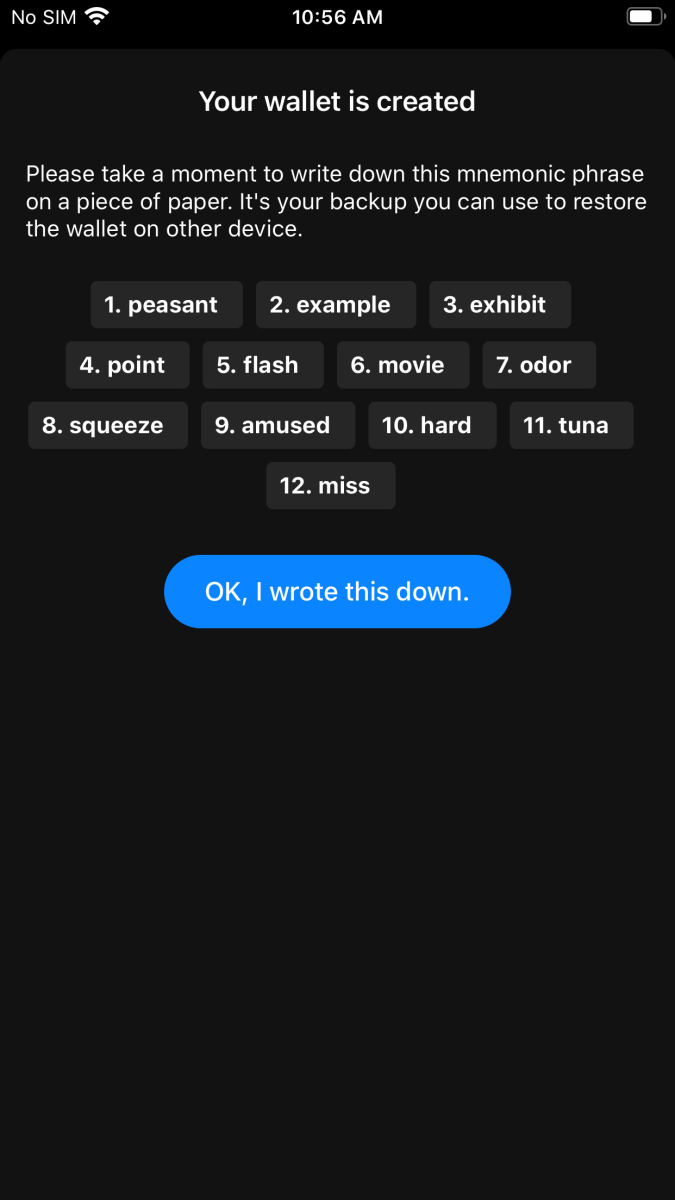
Protecting your seed phrase is how to keep bitcoin safe.
6. Move your bitcoin to self-custody. From the Blue Wallet home screen, simply select the wallet icon for the wallet you just created. This will bring you into the wallet where you can then select the "Receive" button at the bottom of the screen to display your first Bitcoin address QR code. It should be a long string of numbers and letters.
Next, go back to Cash App and click the arrow icon on the right side of the screen under the “Investing” tab, next to the “Sell” button. You’ll need to have a Cash App account set up, which requires a picture of your ID, before your exchange account will let you send bitcoin. (This is precisely the reason we’re moving your digital currency to a wallet that you control, so you won’t need approval in the future.)
Once you’re approved to send bitcoin via Cash App, paste your Blue Wallet bitcoin address into the recipient space beside “To.” Select the amount of bitcoin you want to send, double-check that the bitcoin address matches what you copied from Blue Wallet, and confirm the transaction.
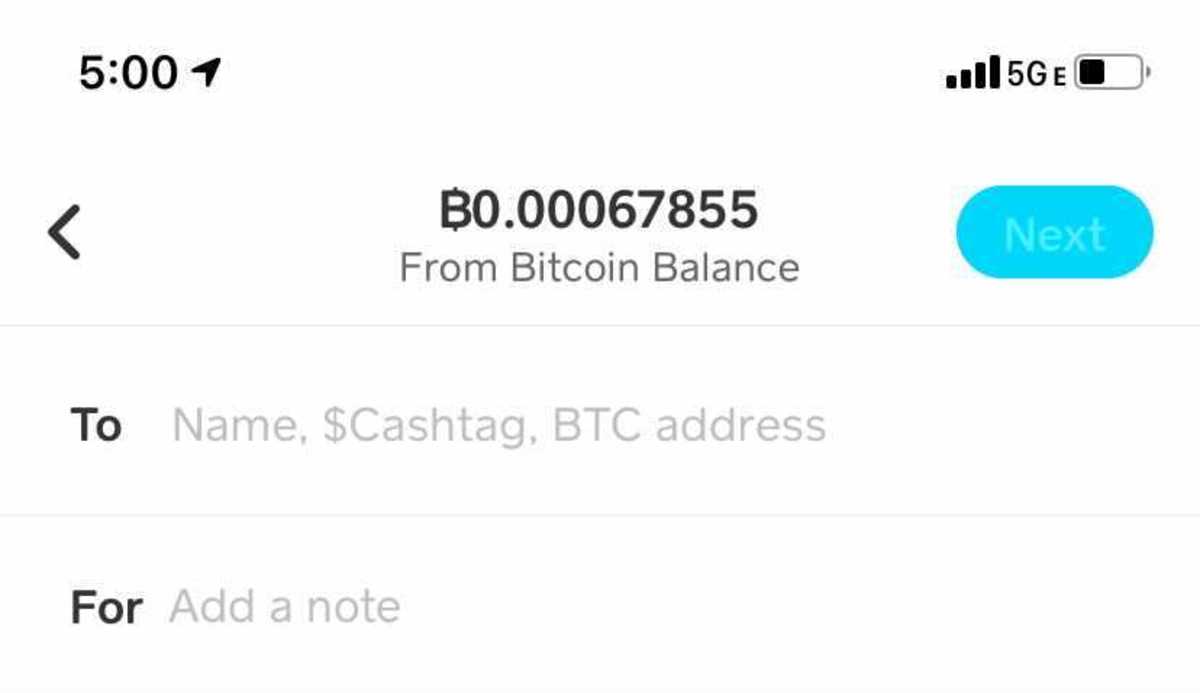
Always double-check the bitcoin address you copy and paste, because once you send bitcoin you can't reverse the transaction.
Congratulations! You’re now the proud (and sole) owner of your first bitcoin stash!
If you want to learn about other wallets, especially options with better privacy and security options, check out the rest of our wallet tutorial series:
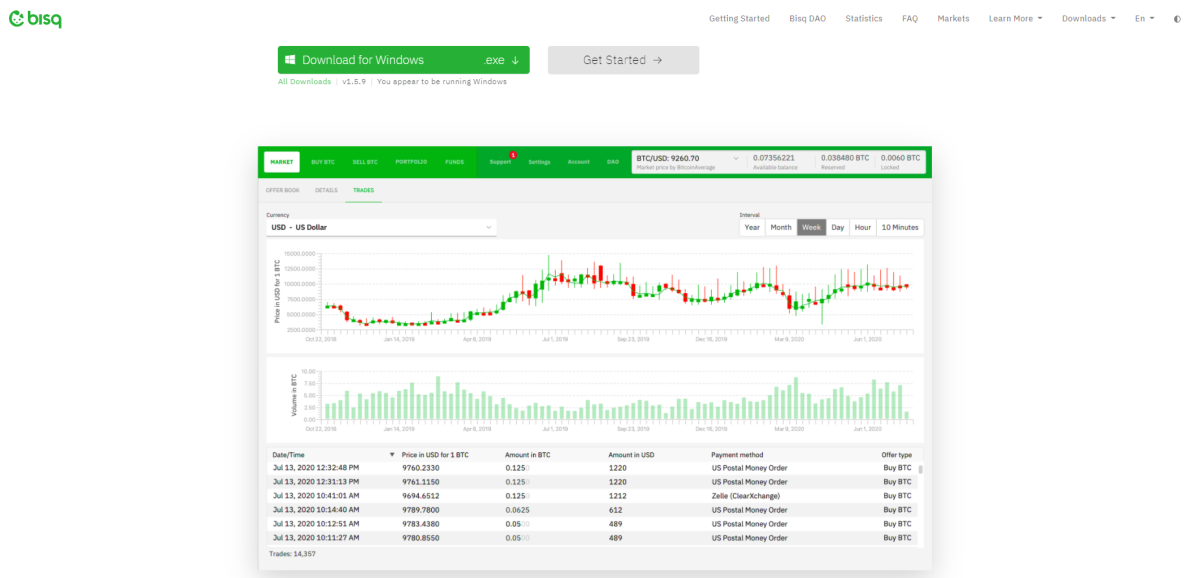
BISQ offers better privacy options than exchange apps like Cash App, although it is also a little more complicated.
Remember to be aware of the privacy implications related to your bitcoin address. All bitcoin transactions on the blockchain are available to the public, so it is a good idea to keep this information separate from your identity.
For more information about how Bitcoin works and what types of bitcoin wallets are available, we’ve also got you covered with more tutorials. Enjoy your tumble down the Bitcoin rabbit hole!
This is a guest post by Will Henson. Opinions expressed are entirely his own and do not necessarily reflect those of BTC Inc or Bitcoin Magazine.


