
The easiest way to set up and run a Lightning Network node is with an out-of-the-box solution. The majority of full Bitcoin node products also run Lightning clients and they have condensed all of the essentials for running a node into small boxes — you just need to plug them in and follow prompts. Here are some easy ways to set up your first bitcoin node:
All the hardware you'll need to set up a node is available in the Bitcoin Magazine store.

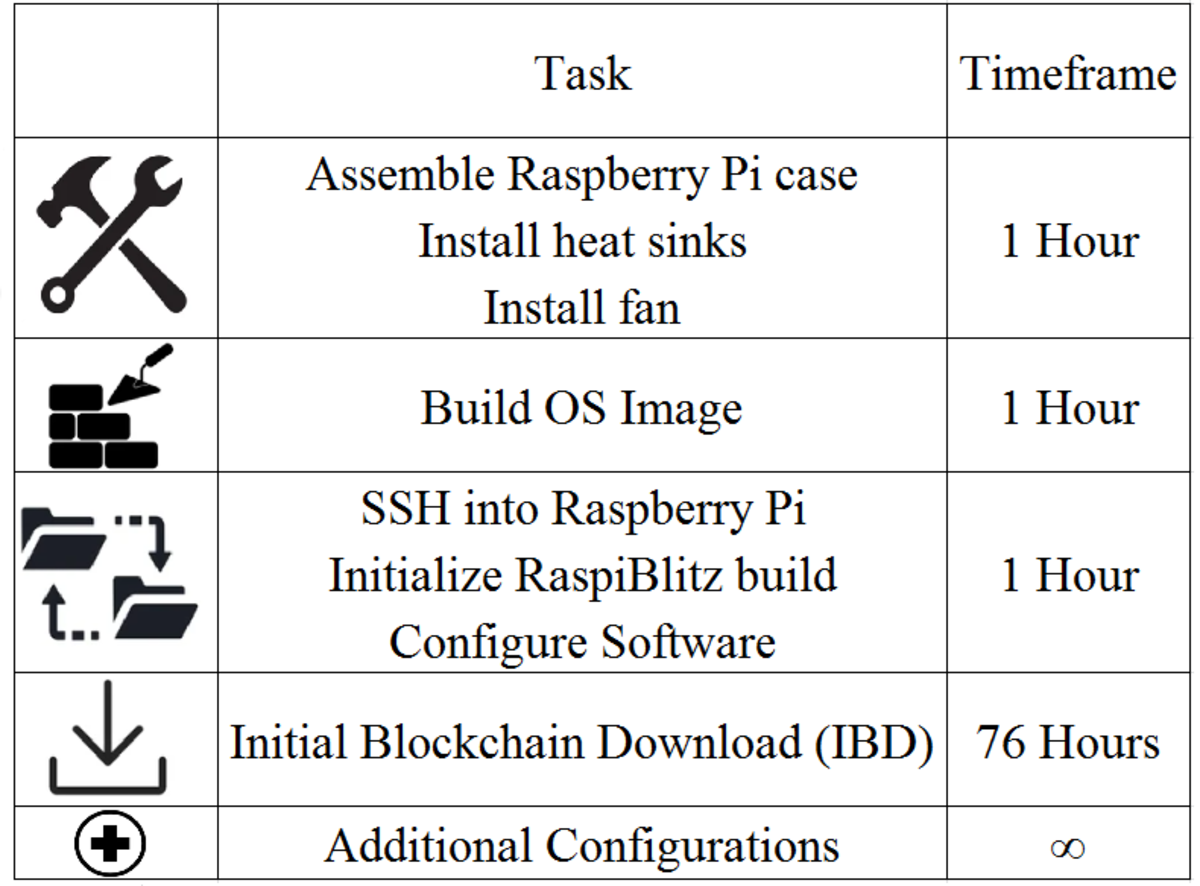
This is what you'll need to build your first Lightning Network node.
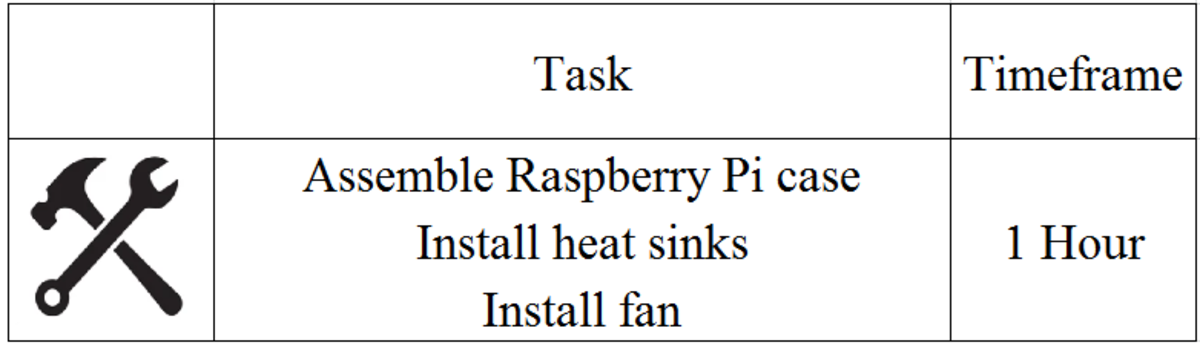
1. Assemble your node
These are the materials you need to build your Lightning node:
- Raspberry Pi 4 Model B, 4 GB
- Raspberry Pi 4 case, including the fan
- 32 GB SD card and adapter
- Samsung T7 Touch Portable Solid State Drive (SSD), 1 TB
- Ethernet cable
2. Build the Operating System
This GitHub repository has more details on the RaspiBlitz Lightning implementation.
Navigate to this website and download the operating system. Then download the flasher from here. Next, flash the OS file onto your microSD card and insert this into your node.

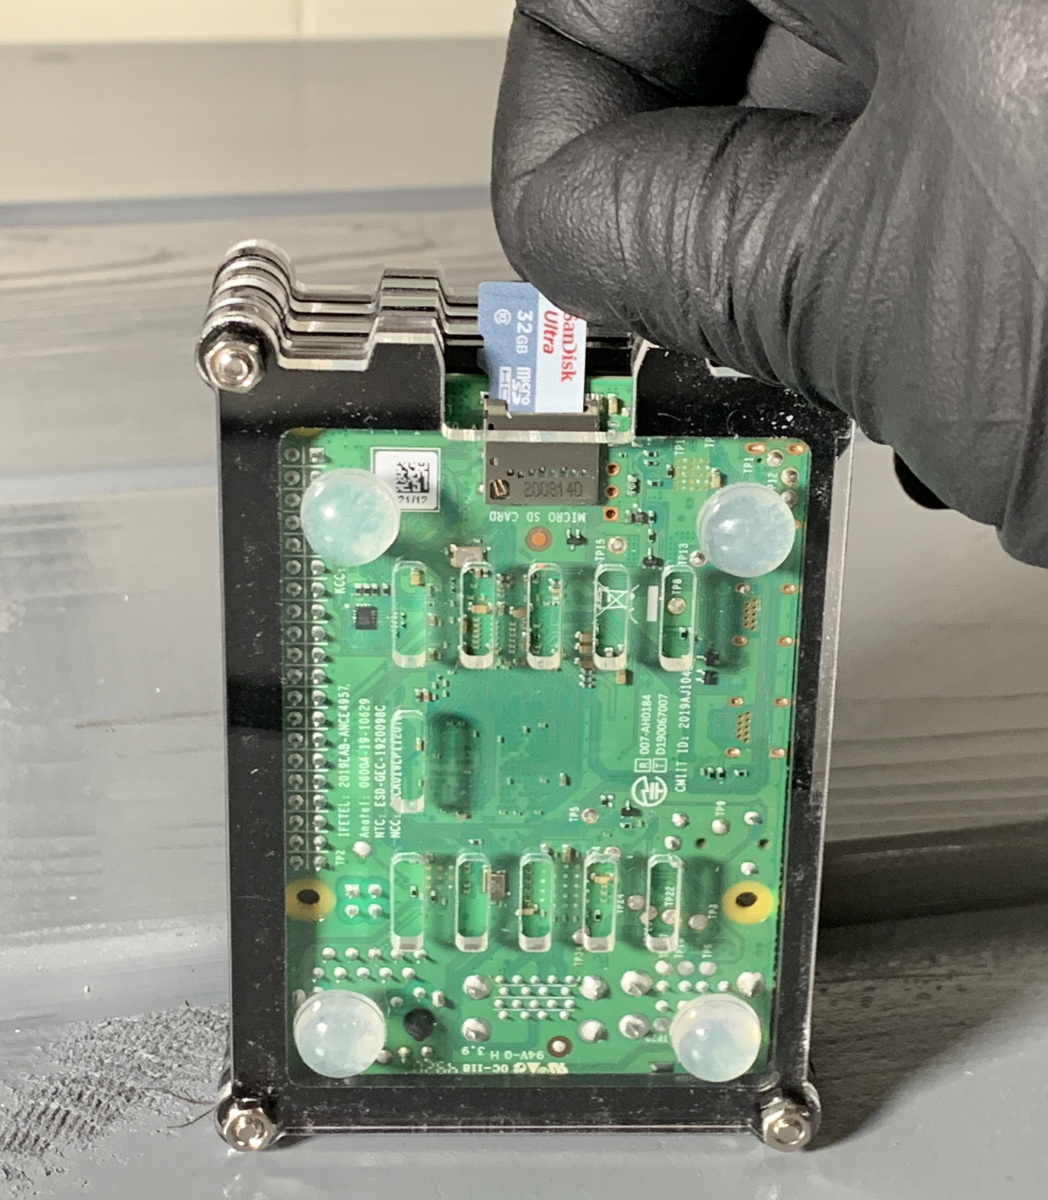
Insert the Micro SD card.
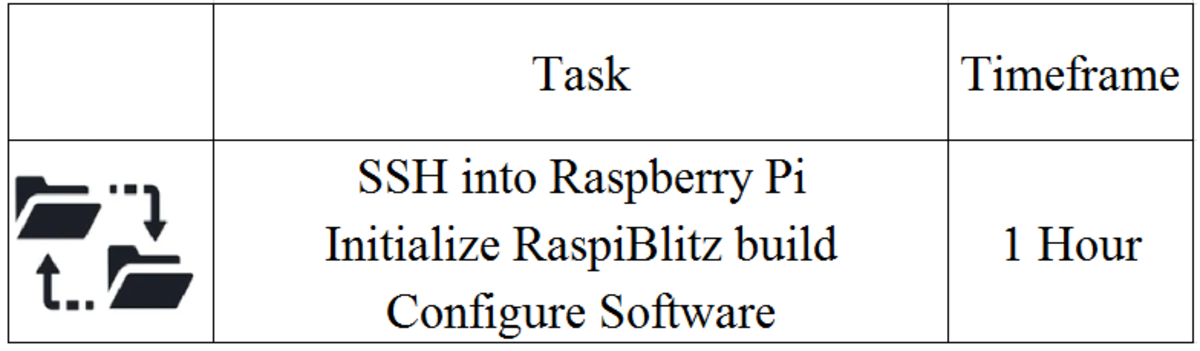
3. Connect to your node from your desktop
Power on your node and then, using SSH, connect to your node. Once prompted for a command, type the following commands in the terminal window:
wget https://raw.githubusercontent.com/rootzoll/raspiblitz/v1.7/build_sdcard.sh
Followed by:
sudo build_sdcard.sh true
This will compile your RaspiBlitz software, then you can reboot your node with this command:
sudo reboot
4. Initial configuration
If everything went smoothly, you should see the RaspiBlitz welcome screen:
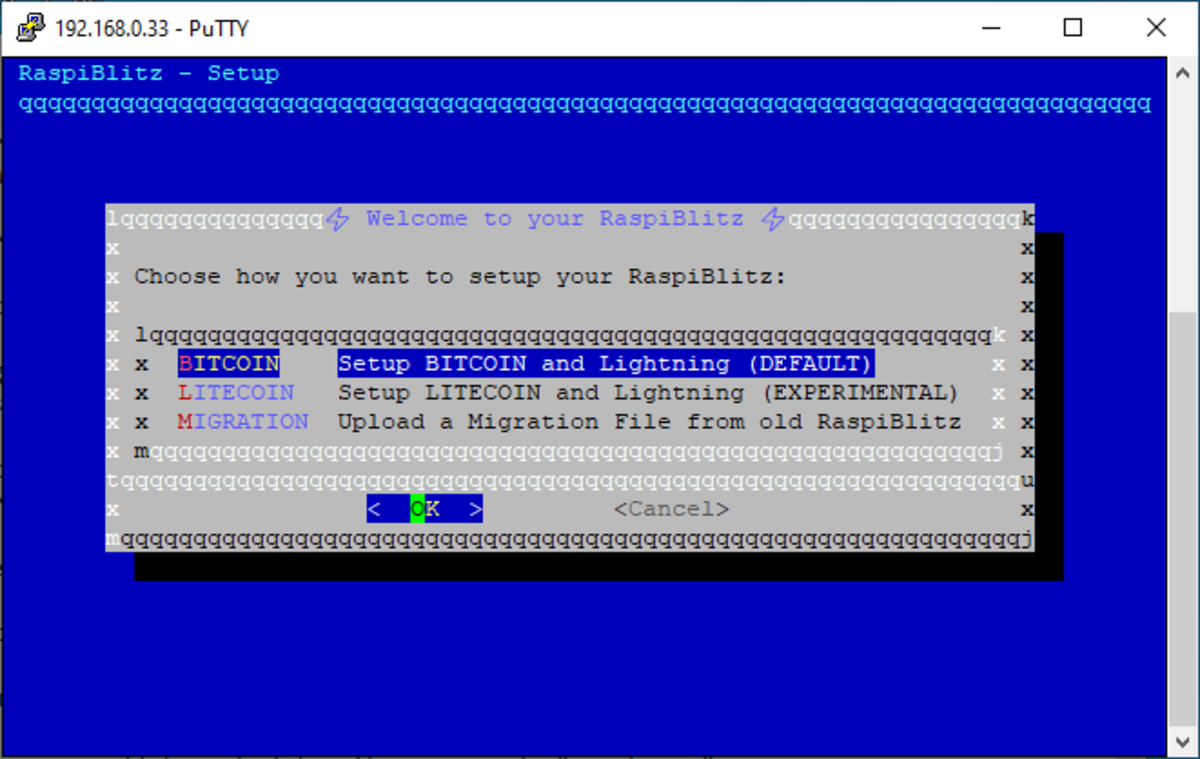
Follow the prompts to make the initial configurations and then start the Initial Blockchain Download (IBD).
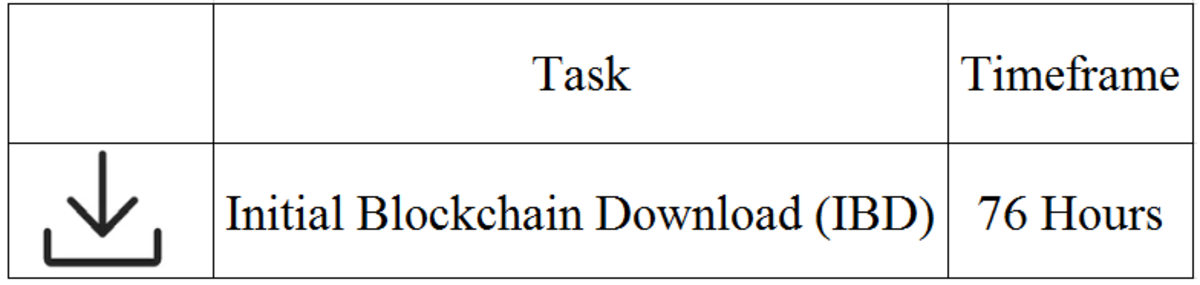
Syncing with the Bitcoin blockchain is the longest part of making a Lightning Network node. You might want to leave it overnight.
5. Set your fees and create channels
With the Lightning Network downloaded and synced on your node, you now have the ability to set your fee for forwarding transactions, connect to other Lightning nodes and fund Lightning channels.
6. Additional configurations

You can take as long as you want exploring so many options!
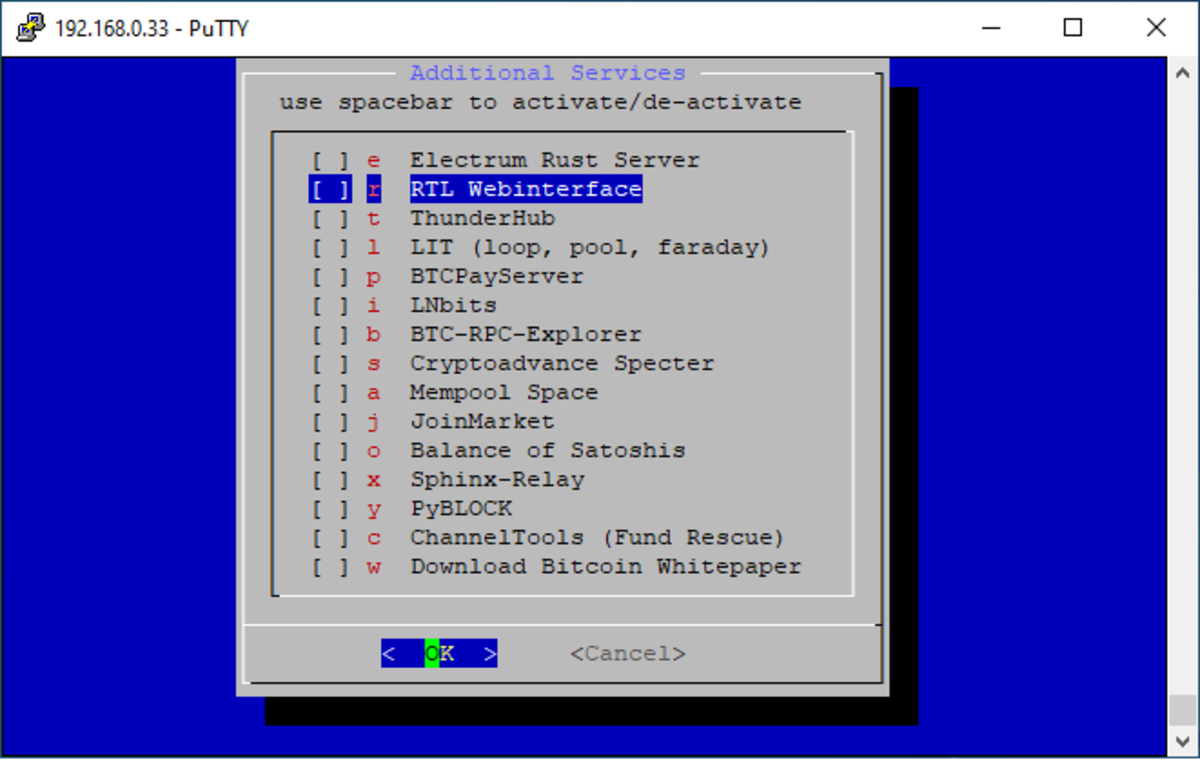
You’re almost ready to go! RaspiBlitz has many additional configurations that you can explore to get the most out of your Lightning experience. Such as the Ride The Lightning web interface, BTCPay Server, JoinMarket and more.
This is the final step for Bitcoin beginners making a Lightning Network node.
To find out more about Lightning node solutions, check out our review of the best full node products. More technical resources for running your own Lightning node are available via Doug von Kohorn’s explainer and Ronald Mannak’s explainer. And, to learn about how to make a profit from running a Lightning Network node, check out our guide to node profitability. Welcome to the future of digital currency!